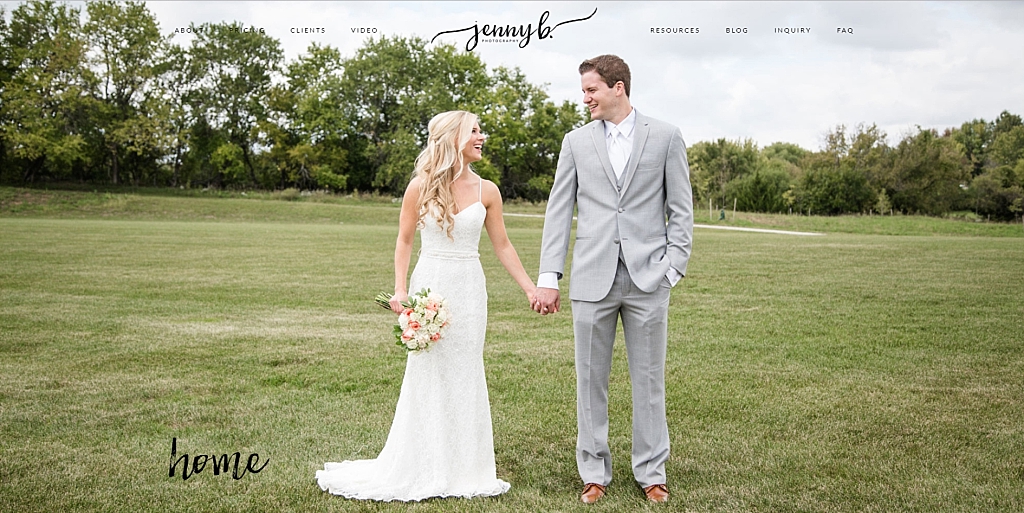
Over the last year, John and I have had multiple conversations about redesigning parts of our business. These conversations usually happen when we are on long car trips where time affords us to dream and plan. We decided last year that if we wanted to redesign then we needed to start with our website. I had fully intended to redesign the website on my own because I had “figured it out” the first time around back in 2014. But one night when we were hosting community group at our house it became quite clear that we had a friend who had a lot of talent when it came to web design. Thankfully, I was able to hand over the reigns and let someone else do their thing!
As nice as it was to have someone doing the behind the scenes work, there were still a lot of things that I had to contribute to the process in order to make our website exactly what we were hoping for. I thought I would share with you the four things that helped get the website that I had dreamed up in my head onto the screen.
- Start with a color palette- As an art teacher, color is life. I’ve seen websites that are so over the top with color that you almost have to leave the site as soon as you get to it. I knew I wanted my color palette to compliment my photographs instead of detract from them. I ended up rolling with the color palette that pretty much describes my entire life: Blush and neutrals. Trust me, if you’ve ever visited my house then you know I have a love for the color grey!

- Find a font- Even though most of my website and business is about photographs, I can’t emphasize how important it is to write about your work, clients, and life. I didn’t want to overwhelm website visitors with fonts that make their eyes hurt. This was a tough one for me because I am a huge fan of curvy and script fonts (trust me, you can ask John every time I send him a wedding timeline and he asks me to send one in a font he can read!) We ended up finding a font that fed my love of script fonts, but was also readable for visitors (at least we hope!). Don’t forget, some fonts aren’t free, so make sure to buy a license if need be.
- Design a logo- I knew this was something I could tackle because I love Photoshop and after all, I am an art teacher! However, I do suggest starting a Pinterest board and researching logos that are out there. Find something that speaks to you and put your own spin on it. After our base logo was formed it was easy to design variation submarks that complimented our main logo.

- Create a design board- This takes a lot of research, but it is essential to help your website designer know what you’re looking for. Basically I just starting combining things I liked from other websites onto a design board. This could be done in Pinterest, but I chose to do mine in Photoshop!
Once these things were in place, I shared them in a google drive folder with my website designer. There was a lot more communication to come between us, but this helped get us off on the right foot. If you’re looking to redesign your website or start one, we recommend you start with these four tips!
